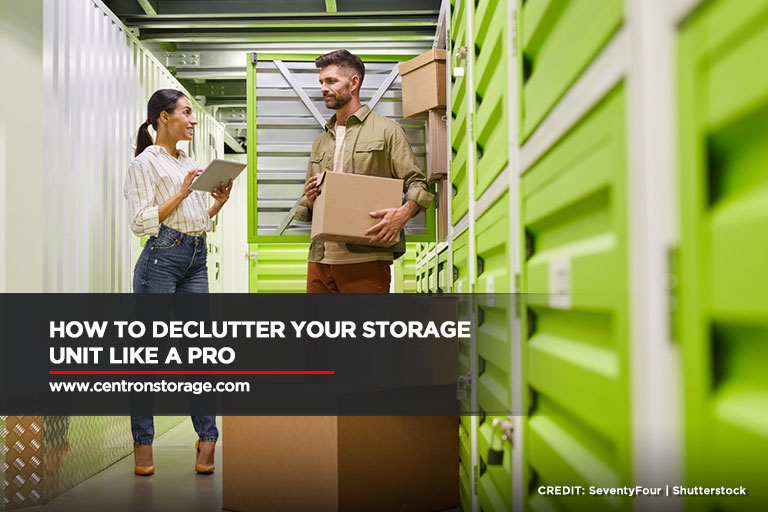
How to Declutter Your Storage Unit Like a Pro

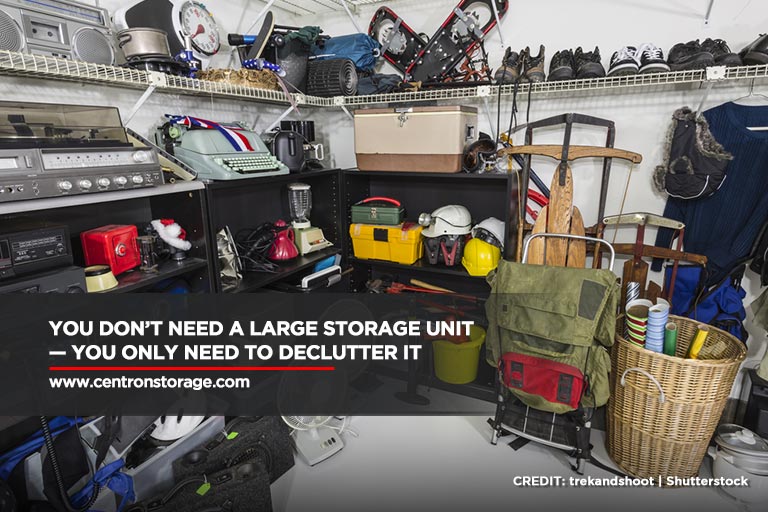
People pay for storage rental in North York where they can temporarily store their unused belongings. Eventually, years of usage can fill up your storage unit. Facing boxes full of years’ worth of clutter can be overwhelming. You might even think that you require more storage space to accommodate all your unused possessions. However, you do not need to invest in a larger storage unit. The best solution to your problem is to declutter.
Why You Need to Declutter Your Storage Unit

Often, many people only visit their offsite storage units to store excess possessions and forget about them. Since an offsite self-storage unit rental is kept out of sight and out of mind, decluttering may not be high on your priority list. However, the state of your storage room — especially if you haven’t cleaned it in months — can weigh on your mind.
Decluttering your storage unit can give you peace of mind. By doing so, you can rest assured that your unused belongings are safe, organized, and easily accessible the moment you need them. This can make your life easier in many ways. You don’t have to turn the entire place upside down to locate specific items — like a ski boot for your annual winter vacation or some special old memorabilia you need to retrieve. Additionally, having a storage space doesn’t necessarily mean you should store all your possessions — even the damaged, unnecessary ones — just in case you “might” need them again.
When decluttering your rented space, sort through your items and identify which ones to keep, discard, and donate. It will help you free up more space to store items that are truly essential to you.
Tips for Decluttering Your Storage Space Without Feeling Overwhelmed

When the amount of clutter starts to accumulate, it can be impossible to retrieve an important item whenever you need them the most. Not only can this inconvenience you, but years’ of clutter and disorganization can be the biggest hurdle in cleaning up your storage unit. When cleaning feels too daunting, it can paralyze you from making a change. To help you take the first step, we have rounded a checklist to serve as a guide on how to declutter your storage unit in no time.
- Take inventory of your storage unit content
The first step for decluttering your storage unit is scanning and taking immediate stock of its contents.
-
- List down what your see: Start jotting down visible large items. Count the number of boxes and list down what you need to sort through to help you determine the time you need to declutter your unit.
- Make an open space inside or outside the unit: If you have limited space, carve out a free corner as your processing area for the next step. However, if you do not have enough room inside, simply set up a temporary pop-up canopy where you process all your stored belongings outside the unit. However, make sure not to block anyone else’s unit and clean up your mess after.
- Check the contents of the boxes: Once you have organized the boxes, take a look at their contents. This applies to unlabeled boxes. If you see valuable, fragile, or important items, be sure to make quick notes for each box.
Creating a rough inventory before sorting your belongings can give you an idea of what you need to be decluttered and organized.
- Make a plan and enlist the help of your friends or family
After the inventory, you do not need to start right away, especially if you do not have an actionable plan. Knowing the best approach helps eliminate the feeling of being overwhelmed and avoid the most common mistake of storing items in a storage unit. Take time to decide on when to start your decluttering projects.
Prepare what you need to bring—bags, shelves, labels, cleaning tools, boxes and moving supplies. Give yourself enough time to clean and organize your unit. Depending on the size of the job, you might need more than a day of decluttering. If you need to urgently clear out the unit, store items in the boxes or bags so you can easily sort through them in your garage or other location.
- Sort items into categories
When sorting your belongings, prepare 4 boxes and categorize them into the following: “keep”, “store”, “sell/donate”, and “dispose”.
Put all the items you want to bring back home into the “keep” box. For those items that you want to set aside, place them into the “store” box so you can return them to the storage unit. Anything that is in good condition and is no longer needed should be in the “sell/donate” box. Lastly, discard items that are broken beyond repair or those without value in the “dispose” box.
- Clean and organize your unit
If you are done sorting your items, it is time to give your storage unit a clean. After getting rid of dust and debris, organize all the things you need to store in the unit.
-
- Get as many items off the floor if possible. If your rented storage unit comes with shelves, optimize every elevated surface. Items, such as tote bags and seasonal tools can be hung on walls to keep them organized. You can also use small pallets to keep large boxes off the floor to keep them safe.
- To protect your sofa, stuffed chairs, and other furniture from damage, wrap them properly using heavy-duty plastic or specially designed plastic mattress cover.
- Be sure to label boxes by content or purpose. Keep the label facing outward so you can easily read and access them whenever you need.
- Designate a wall for a pegboard or heavy-duty shelf. This allows you to hang your bicycle and organize tools and other important equipment for easy access.
At Centron Self-Storage, we welcome our customers to clean their self-storage units whenever they can, and with your help, we can continue to provide all of you with a clean and well-maintained storage facility where you can safely store all your belongings.
If you are looking for a safe, clean, and secured self-storage in North York, call Centron Self Storage at (416) 739-0000.

